Cloudflare Images: Complete Implementation Guide
Four approaches to transform and deliver images with Cloudflare, explained with live examples.
⚠️ Important Disclaimer
This website is for educational and technical demonstration purposes only.
Billing metrics, pricing information, and cost calculations shown on this page may change without notice and should not be relied upon for financial planning or decision-making. Always refer to the official Cloudflare pricing page or your Account Team and your Cloudflare Dashboard for current, accurate pricing information. The purpose of this website is solely to showcase the technical aspects and capabilities of Cloudflare Images.
📊 Billing Metrics Overview
- Transformations (Methods 1-3): Count of unique transformations per month (same image + parameters = 1 transformation for 30 days)
- Images Stored (Method 4): Total number of original images stored in Cloudflare Images
- Images Delivered (Method 4): Number of image requests served per month from Cloudflare Images
Note: Variants (named or flexible) do NOT count as separate stored images - only the original.
Method 1: /cdn-cgi/image Path (Simplest)
Best for: Quick implementation, no custom logic needed
How It Works
Built-in Cloudflare feature that automatically transforms images using a special URL path.
/cdn-cgi/image/<OPTIONS>/<IMAGE-URL>
Example:
/cdn-cgi/image/width=400,height=300,fit=cover,format=webp/img/ijen.jpg
Image Source Options
The <IMAGE-URL> can come from multiple sources:
1. Local/Relative Paths
/cdn-cgi/image/width=400/img/photo.jpg
/cdn-cgi/image/width=400/assets/banner.png
Images stored on your origin server or Workers Static Assets
2. External URLs
/cdn-cgi/image/width=400/https://example.com/photo.jpg
/cdn-cgi/image/width=400/https://cdn.other-site.com/image.png
Transform images from any publicly accessible URL
3. Object Storage Buckets (R2, S3, GCS)
You can use images from object storage buckets in two ways:
- Create a CNAME DNS record pointing to your bucket
- Configure bucket to allow public access
- Add Host header in bucket configuration (required for some providers like S3, optional for R2)
- Use the custom domain in transformation URLs
DNS: images.example.com → CNAME → bucket.provider.com
URL: /cdn-cgi/image/width=400/PATH-TO-THE-IMAGE-ON-THE-BUCKET
Use the bucket's public URL directly (if publicly accessible):
/cdn-cgi/image/width=400/https://pub-xyz.r2.dev/photo.jpg
S3 Public Bucket:
/cdn-cgi/image/width=400/https://bucket-name.s3.amazonaws.com/photo.jpg
Google Cloud Storage:
/cdn-cgi/image/width=400/https://storage.googleapis.com/bucket-name/photo.jpg
Some storage providers require the Host header to be set correctly:
- R2: Generally not required if using public bucket URL
- S3: May require Host header for virtual-hosted-style URLs
- GCS: Usually works without additional configuration for public buckets
Tip: If you get 403/404 errors, check bucket permissions and Host header settings in your bucket configuration.
Live Example: External URL
External Image (Cloudflare Blog)

/cdn-cgi/image/width=300,height=200,fit=cover/https://blog-cloudflare-com-assets.storage.googleapis.com/2019/09/WranglerCrab-1.png
How it works:
✓ Applies transformations (resize, format)
✓ Caches result on edge network
✓ Serves optimized image to users
✓ No storage needed on your server
Live Examples (Local Images)
Original Image

/img/ijen.jpg
Transformed (400x300, WebP)

/cdn-cgi/image/width=400,height=300,fit=cover,format=webp/img/ijen.jpg
Available Options
Pros & Cons
- ✓ Zero code required
- ✓ Works immediately after enabling transformations
- ✓ Automatic caching (1 hour minimum)
- ✓ Supports all image formats (JPEG, PNG, GIF, WebP, AVIF, SVG)
- ✓ Transformation parameters visible in URL and can be controled by a Custom Rules
- ✗ No custom logic or validation
- ✗ Can't hide original image location
Billing Metrics
Unique Transformations
A "unique transformation" = same image + same parameters. Example: width=100/photo.jpg counts once for 30 days.
Method 2: Custom Workers Path (Your Current Setup)
Best for: Full control, custom logic, device-specific optimization
How It Works
Your Worker intercepts requests and programmatically applies transformations using the fetch API.
/image-resizing?width=800&image-name=photo.jpg
/thumbs/photo.jpg (can be anything you want)
Worker Code:
const options = { cf: { image: { width: 800, height: 600, fit: "cover", format: "webp" }}}; return fetch(imageURL, options);
Live Examples
Device-Responsive (Mobile/Tablet/Desktop)

/image-resizing?image=ijen.jpg
Auto-detects device type and serves appropriate size
Custom Parameters

/image-resizing?fit=contain&width=400&format=webp&image-name=ijen.jpg
Watermark Example

/image-resizing?watermark=ijen.jpg
Responsive srcset

Browser automatically picks best size for viewport
What You Can Do
- ✓ Custom URL schemes (hide complexity)
- ✓ Device detection (CF-Device-Type header)
- ✓ Hide original image location
- ✓ Custom validation and security rules
- ✓ Content negotiation (format=auto with Accept header)
- ✓ Watermarking with draw option
- ✓ Integrate with external private storage (R2, S3, GCS)
- ✗ Requires Worker code maintenance
- ✗ Adds Worker invocation costs + CDN and requests
- ✗ Must handle caching correctly
Billing Metrics
Unique Transformations + Worker Requests + Bandwidth and Requests
Tracks transformation counts plus Worker invocations per request
Method 3: Transform Rules (Dashboard Configuration)
Best for: Centralized management without code changes
How It Works
Configure transformation rules in Cloudflare dashboard under Rules → Transform Rules → URL Rewrite.
Always include this condition to prevent infinite loops:
...and (not (any(http.request.headers["via"][*] contains "image-resizing")))
Example 1: Custom Path
Transform images from a custom path like /thumbs/ to use image transformations.
1. Field: When incoming requests match...
Expression:
(starts_with(http.request.uri.path, "/thumbs/")) and
(not (any(http.request.headers["via"][*] contains "image-resizing")))
2. Field: Then... Path → Rewrite to... → Dynamic
Value:
concat("/cdn-cgi/image/width=200,height=200,fit=cover", substring(http.request.uri.path, 7))
Result:
/thumbs/ijen.jpg → /cdn-cgi/image/width=200,height=200,fit=cover/ijen.jpg
Live Example: Thumbnails
These show what the Transform Rule produces - all images below use the exact transformed URL:
Thumbnail #1

/thumbs/img/ijen.jpgRule transforms to:
/cdn-cgi/image/width=200,height=200,fit=cover/img/ijen.jpg
Thumbnail #2

/thumbs/img/tie.jpgRule transforms to:
/cdn-cgi/image/width=200,height=200,fit=cover/img/tie.jpg
Thumbnail #3

/thumbs/img/indo1.jpgRule transforms to:
/cdn-cgi/image/width=200,height=200,fit=cover/img/indo1.jpg
/thumbs/* and automatically rewrites them to use /cdn-cgi/image/ with the thumbnail parameters. Users see clean URLs, Cloudflare delivers optimized images.
Example 2: Query String to Path Parameters
Convert existing URLs with query strings to Cloudflare Images format.
1. Field: When incoming requests match...
Expression:
(http.request.uri matches "^/(.*)\\?width=([0-9]+)&height=([0-9]+)$")
2. Field: Then... Path → Rewrite to... → Dynamic
Value:
regex_replace(
http.request.uri,
"^/(.*)\\?width=([0-9]+)&height=([0-9]+)$",
"/cdn-cgi/image/width=${2},height=${3}/${1}"
)
3. Field: Query → Rewrite to... → Static
Value: (leave empty)
Result:
/img/ijen.jpg?width=400&height=300 → /cdn-cgi/image/width=400,height=300/img/ijen.jpg
Live Example: Query String Transformation
These show actual images loaded with the exact transformed URL that the rule would create:
Example 1: 400x300
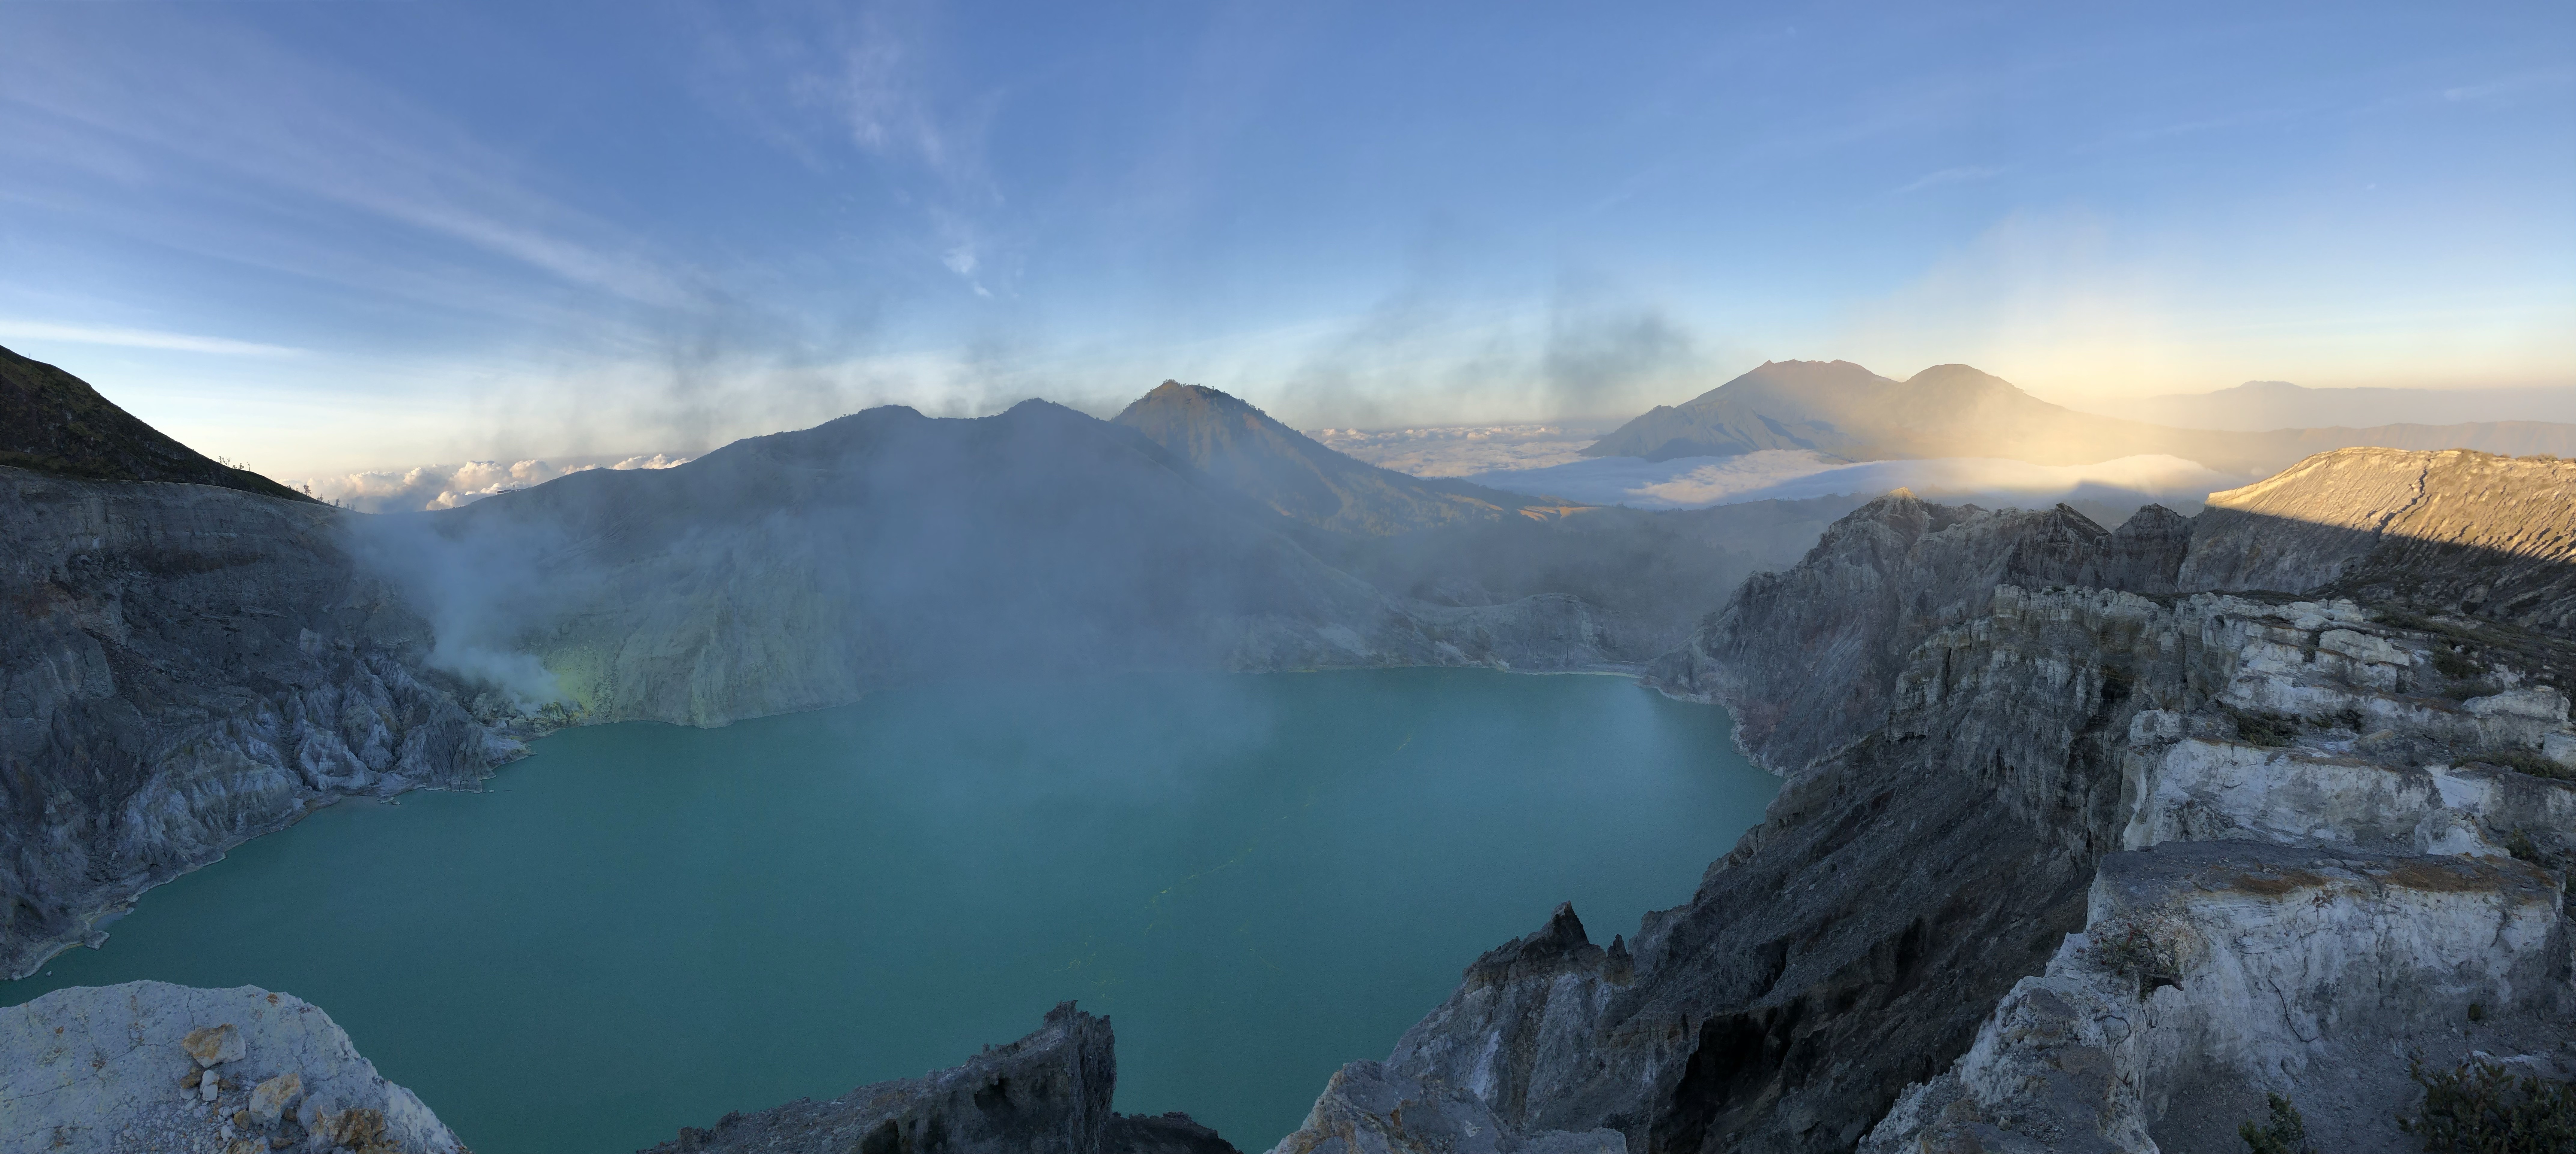
/img/ijen.jpg?width=400&height=300Rule transforms to:
/cdn-cgi/image/width=400,height=300,fit=crop/img/ijen.jpgQuery removed: ✓
Params to path: ✓
Example 2: 500x400

/img/tie.jpg?width=500&height=400Rule transforms to:
/cdn-cgi/image/width=500,height=400,fit=crop/img/tie.jpgQuery removed: ✓
Params to path: ✓
Example 3: 300x300

/img/indo1.jpg?width=300&height=300Rule transforms to:
/cdn-cgi/image/width=300,height=300,fit=crop/img/indo1.jpgQuery removed: ✓
Params to path: ✓
?width=X&height=Y URLs working while transparently upgrading to Cloudflare Images. No code changes needed - just add the rule!
Regex Explanation:
Breakdown:
- ^/(.*) → Captures everything after the first slash (Group 1: image path)
- \\?width=([0-9]+) → Captures the width number (Group 2: width value)
- &height=([0-9]+)$ → Captures the height number (Group 3: height value)
Replacement: /cdn-cgi/image/width=${2},height=${3}/${1}
- ${2} → Inserts captured width
- ${3} → Inserts captured height
- ${1} → Inserts original image path
Example 3: Transform All Images
Automatically apply format=auto to every image on your zone.
1. Field: When incoming requests match...
Expression:
(http.request.uri.path.extension matches "(jpg)|(jpeg)|(png)|(gif)") and
(not (any(http.request.headers["via"][*] contains "image-resizing")))
2. Field: Then... Path → Rewrite to... → Dynamic
Value:
regex_replace(http.request.uri.path, "/(.*)", "/cdn-cgi/image/format=auto/${1}")
Result:
/img/ijen.jpg → /cdn-cgi/image/format=auto/img/ijen.jpg
/photo.png → /cdn-cgi/image/format=auto/photo.png
Step-by-Step: Creating a Transform Rule
- Go to Cloudflare Dashboard → Select your zone
- Navigate to Rules → Transform Rules
- Click Create rule next to "URL Rewrite Rules"
- Enter a Rule name (e.g., "Thumbnail Transformation")
- In "When incoming requests match...":
- Click "Edit expression"
- Paste your condition expression
- In "Then...":
- Select "Rewrite to..." → "Dynamic"
- In "Path", paste your rewrite expression
- For query string rules: Set "Query" to empty (Static)
- Click Deploy
Pros & Cons
- ✓ No code changes needed
- ✓ Centralized management in dashboard
- ✓ Can combine multiple rules
- ✓ Works with existing CDN cache
- ✓ Supports migrating from query-string-based resizing
- ✓ Can apply transformations to all images automatically
- ✗ Less flexible than Workers
- ✗ Limited to URL pattern matching
- ✗ No custom logic or device detection
- ✗ Must prevent request loops with Via header check
Billing Metrics
Unique Transformations + Bandwidth and Requests
Same metrics as Method 2, managed via dashboard rules
Method 4: Cloudflare Images Storage (Full Solution)
Best for: Complete image management with storage, transformations, and global delivery
How It Works
Store your images directly in Cloudflare Images and serve them through the global CDN with automatic transformations.
https://imagedelivery.net/<ACCOUNT_HASH>/<IMAGE_ID>/<VARIANT_NAME>
Your Account:
https://imagedelivery.net/XV2DcO5NNVTPNDQTjLpIVQ/<IMAGE_ID>/<VARIANT_NAME>
Examples:
Named variant: https://imagedelivery.net/XV2DcO5NNVTPNDQTjLpIVQ/indo1/public
Flexible variant: https://imagedelivery.net/XV2DcO5NNVTPNDQTjLpIVQ/indo1/w=400,sharpen=3
Live Examples
Named Variant: "public"

/img/indo1.jpg/public
Named Variant: "blur"

/img/indo1.jpg/blur
Flexible Variant

/img/indo1.jpg/w=400,sharpen=3
Variant Types
Named Variants (Pre-configured)
Configure up to 100 variants in the dashboard with fixed settings.
Variant Name: thumbnail
Settings: width=200, height=200, fit=cover
URL: /img/indo1.jpg/thumbnail
Benefits: Consistent sizing, easier URLs, cached separately
Flexible Variants (On-demand)
Specify transformation parameters directly in the URL.
/img/indo1.jpg/w=400,h=300
/img/indo1.jpg/w=800,fit=cover,gravity=auto
/img/indo1.jpg/w=500,sharpen=2,format=webp
/img/indo1.jpg/width=600,height=400,quality=85
Benefits: Maximum flexibility, no pre-configuration needed
More Live Examples
Width Only

/w=300
Cover + Crop

/w=300,h=300,fit=cover
Quality 50%

/w=300,quality=50
Format WebP

/w=300,format=webp
How to Upload Images
Cloudflare Dashboard → Images → Upload
2. Via API:
curl -X POST \
https://api.cloudflare.com/client/v4/accounts/<ACCOUNT_ID>/images/v1 \
-H "Authorization: Bearer <API_TOKEN>" \
-F file=@./indo1.jpg \
-F id="indo1"
3. Via Direct Creator Upload:
Generate one-time upload URL for user uploads
Billing Metrics
- Images Stored: Total number of original images in your account
- Images Delivered: Number of image requests served per month
Note: Variants (named or flexible) do NOT count as separate stored images. Only the original upload is counted.
Pros & Cons
- ✓ Complete solution: storage + transformation + delivery
- ✓ Automatic format optimization (WebP, AVIF)
- ✓ No origin server needed
- ✓ Up to 100 named variants per image
- ✓ Unlimited flexible variants
- ✓ Direct creator upload for user-generated content
- ✓ Signed URLs for private images
- ✓ One-click purge and management
- ✗ Requires migration from existing storage
- ✗ Separate billing for storage and delivery
- ✗ 100MB max file size per image
- ✗ Less control over origin infrastructure
Comparison: External Storage vs Cloudflare Images
| Feature | Method 1-3 (External Storage) | Method 4 (Cloudflare Images) |
|---|---|---|
| Storage Location | Your origin server / R2 / GCS / S3 | Cloudflare Images (managed) |
| Billed Metrics | Transformations only | Images Stored + Images Delivered |
| URL Format | Your domain with path | imagedelivery.net subdomain |
| Management | Manage your own storage | API + Dashboard management |
| Upload API | Use your storage provider's API | Cloudflare Images API |
Example Metrics Calculation
Images Stored: 5,000 original product images
Variants: 5 named variants (thumbnail, small, medium, large, zoom)
Images Delivered: 500,000 image requests per month
What Counts:
- Stored: 5,000 images (variants don't count separately)
- Delivered: 500,000 requests (all variants combined)
What Doesn't Count:
- Named variants as separate storage
- Flexible variants as separate storage
- Cached images (only first request counts)
🎯 Recommendations
- Use Method 1 (
/cdn-cgi/image): If you need quick implementation and don't need custom logic - Use Method 2 (Workers): If you need device detection, custom URLs, or integration with external storage (your current setup is great!)
- Use Method 3 (Transform Rules): If you want centralized management and have a Pro plan
- Use Method 4 (Cloudflare Images Storage): If you want a complete managed solution without maintaining your own storage
- Combine approaches: Use
/cdn-cgi/imagefor simple cases, Workers for complex logic, and Cloudflare Images for user-generated content
🚀 Advanced Features
Format Auto-Negotiation
Automatically serve WebP/AVIF to supporting browsers:
Responsive Images with srcset
Face Detection with Gravity
Center crop

Face detection

Face with zoom

📚 Documentation Links
- Transform via URL - Complete options reference
- Transform via Workers - Worker integration guide
- Cloudflare Images Pricing - Detailed pricing breakdown
- Get Started Guide - Enable transformations